
Get On the Wait List
Sign up to get notified when the course enrollment opens back up!
Have you said ANY of these things to yourself before:
 I want to add swirly lines to my letters but I don’t know where to put them!?
Why are my lines wobbly instead of smooth?
Ugh, My flourish looks like one of the letters and is making the word hard to read!
Why don’t my flourishes look as good as theirs?
Hmmm… I think I went a bit overboard with my flourishes…Is this too much?
How big do I make the flourish?…I’m so frustrated!
Don’t worry…I got you
Flourishing is one of the most GORGEOUS parts of calligraphy and lettering, but it’s also one of the trickiest!
Don’t let it scare you though…I’m here to walk you through it.

Learn how to Flourish with your own accountability partner...
• Guided learning through Video Tutorials, Worksheets and Tracing Templates.
• Access to the PRIVATE Facebook Group where I will do bonus LIVE TUTORIALS, Q&A’s and more!
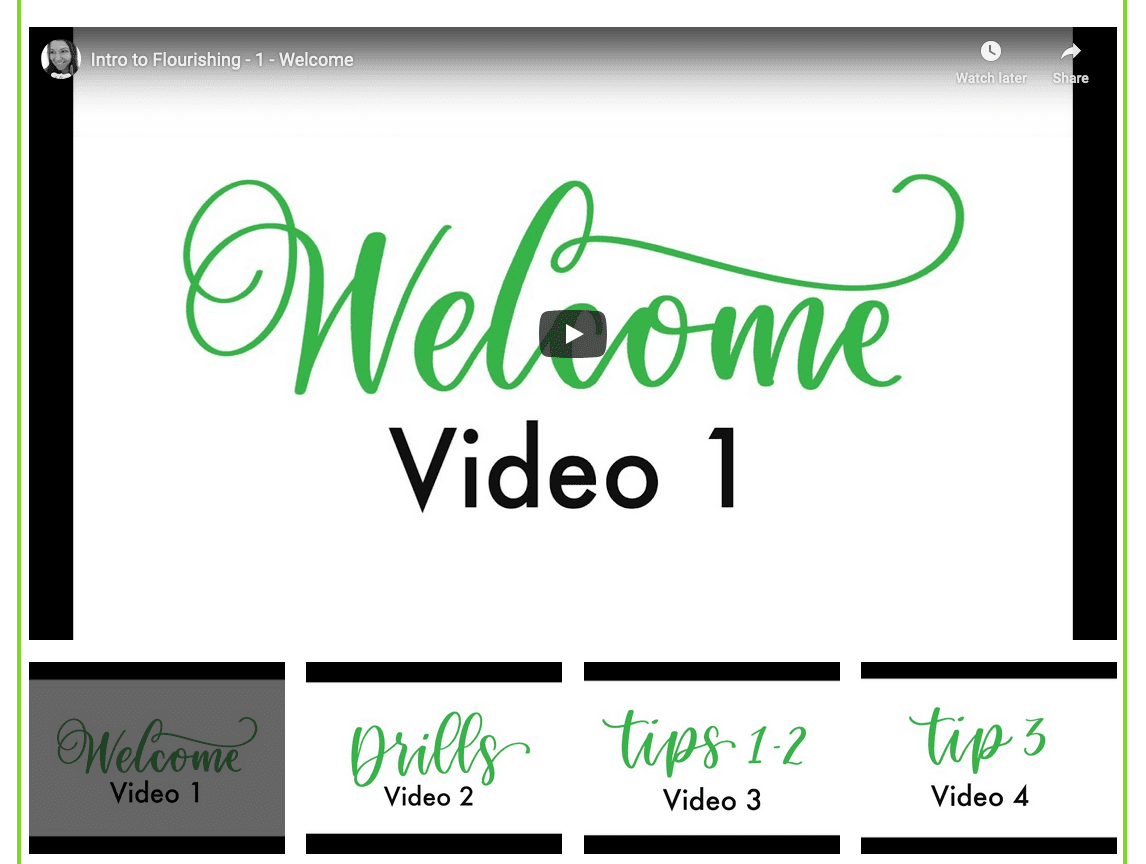
12 Video Tutorials to guide you through each step
In this self-paced course, you will follow along with me using your printed worksheet templates. No guessing or reading through pages of instructions.
It’s more like hanging out with your calligra-friend over a cup of coffee while learning the in’s and out’s of flourishing by watching and doing.
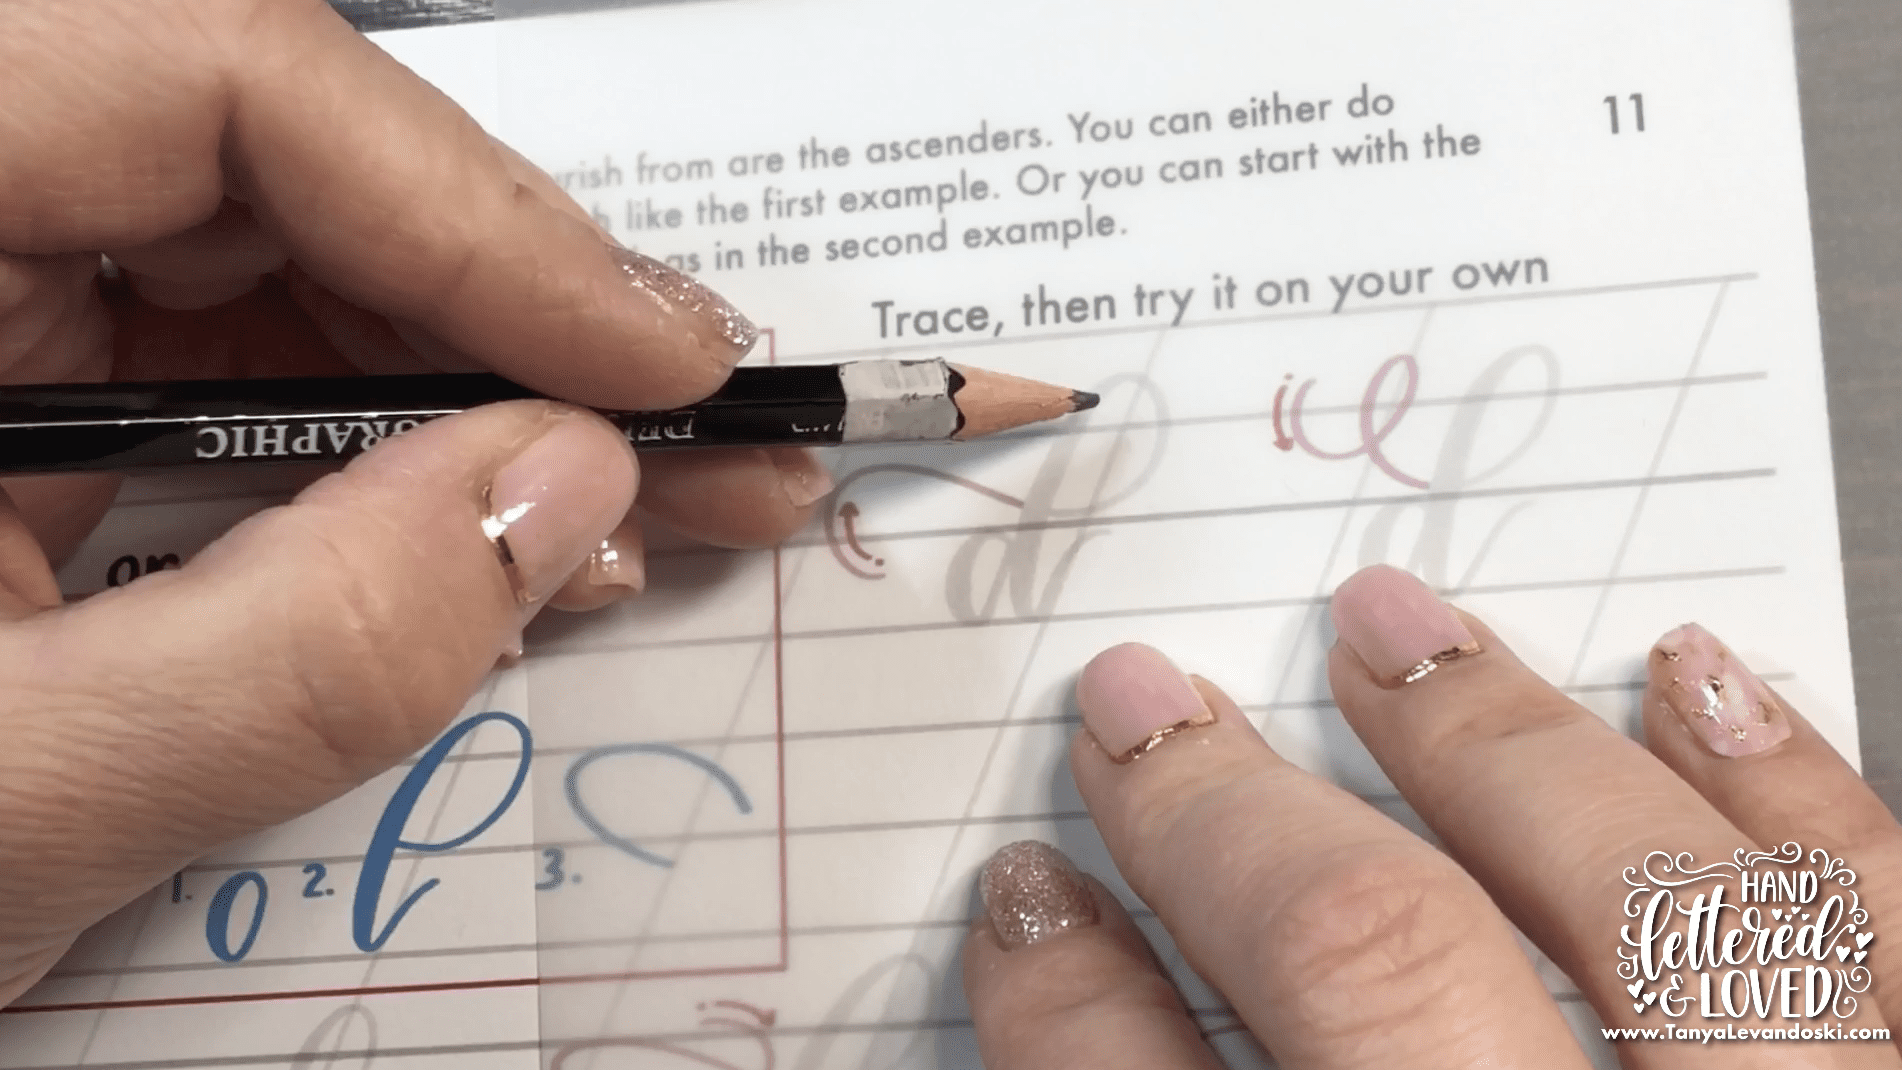
• 34 Digital/Printable Worksheets: Download your worksheets and print them out. Grab some tracing paper and a pencil, and you’re ready to follow along with the video tutorials! OR if you’re an Ipad user and would like to follow along using procreate, I’ve got you covered as well! You will get .jpg files that you can import directly into your procreate app.
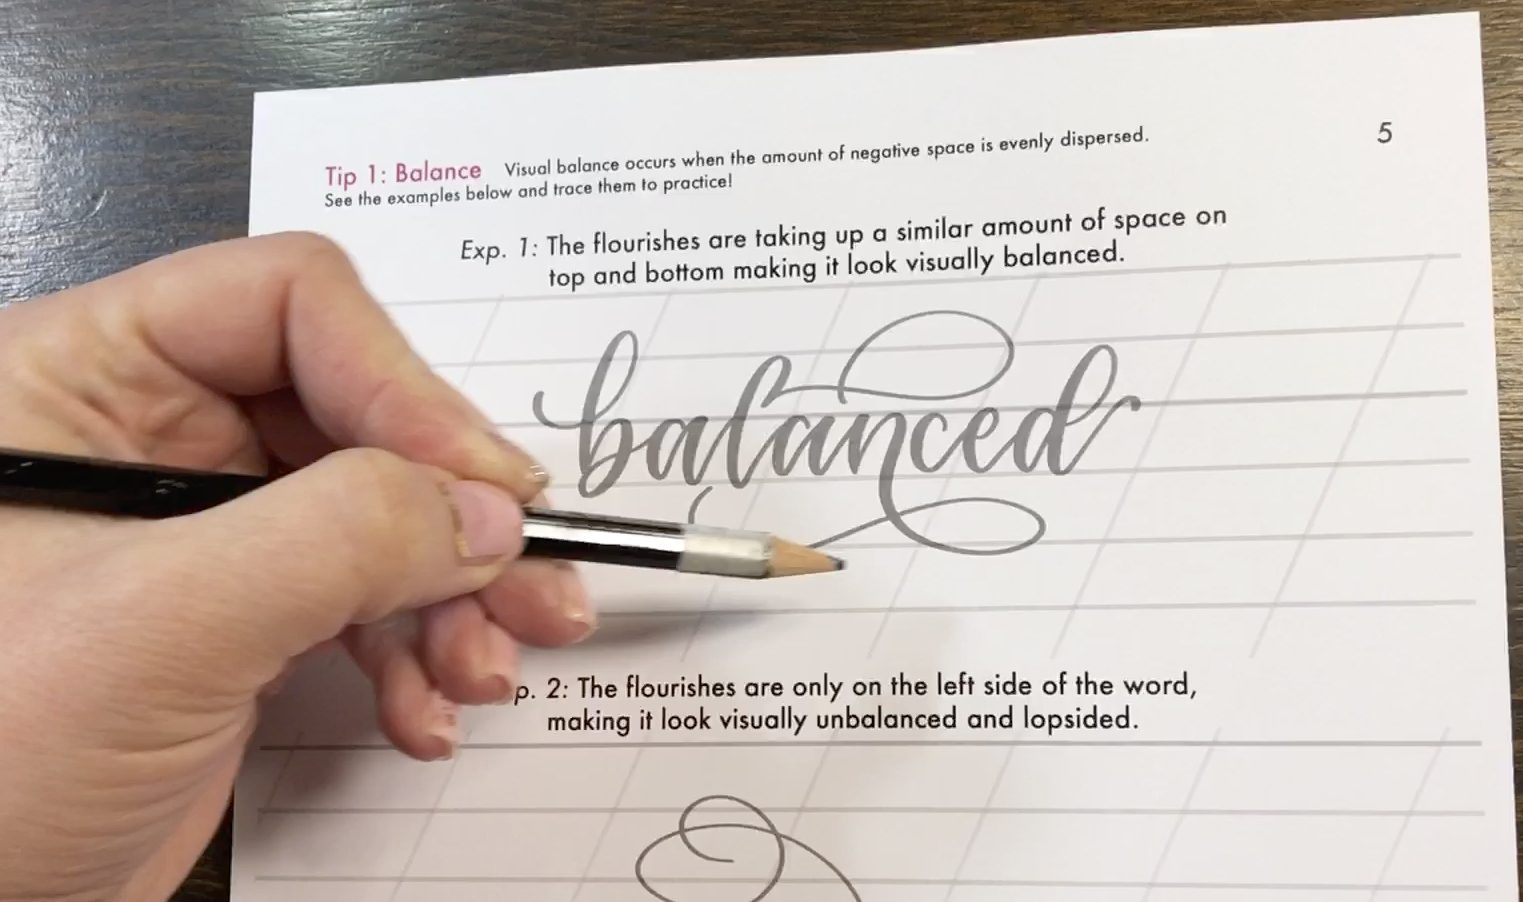
– 5 Rules/Tips : Learn the 5 things that will help elevate your flourishing to the next level!
– Drills: Numerous flourishes for you to practice, uninterrupted, over and over again.
– 6 Best Places to Flourish “cheatsheet: I show you the 6 best places to add a flourish. Refer back to this page anytime you need to answer the question, “where should I put the flourish?”
– 6 Best Places to Flourish individual sections: Following the cheat sheet, we go through each and every one of those 6 places in detail. I’ll show you how to create a bunch of different variations and you get to trace them while following along.
– How to flourish a word: We will get into specifics on how to add more than one flourish onto a word. Then I show you 3 different variations of that same word with room for you to try it on your own.
– How to avoid a Flourish looking like one of the letters: Ever look at someones flourished word and think “hmmm what does that even say?” Legibility is super important. I will take you through examples of what NOT to do when making your flourishes so that your word stays as legible as possible to the viewer.
– Alphabet Exemplars: Examples of the full Uppercase and Lowercase Flourished Alphabet for you to trace and practice and reference for future.
• 12 Video Tutorials: I personally walk you through EVERY step with tips and tricks along the way! The course is broken up in to 12 individual videos ranging from .
• 34 Digital Worksheet files for the iPad: As mentioned above, the course includes ipad/procreate compatible files.
• Access to PRIVATE Facebook group: You’ll receive instant access to the private facebook group where students will benefit from bonus live tutorials from myself, Q&A sessions among other content to help keep you accountable in finishing the course and to answer any questions you may have as you work through the course material.
• Life-time access to the Course: Once you’re signed up, you’ll receive a password for the course, and you’ll have lifetime access through my website!
34 Worksheets to follow along with
Not only do the printable worksheets have instructions on them so they make sense by themselves, but you’ll use them to follow along with the comprehensive video tutorials so you won’t be lost on your own while trying to understand each step.
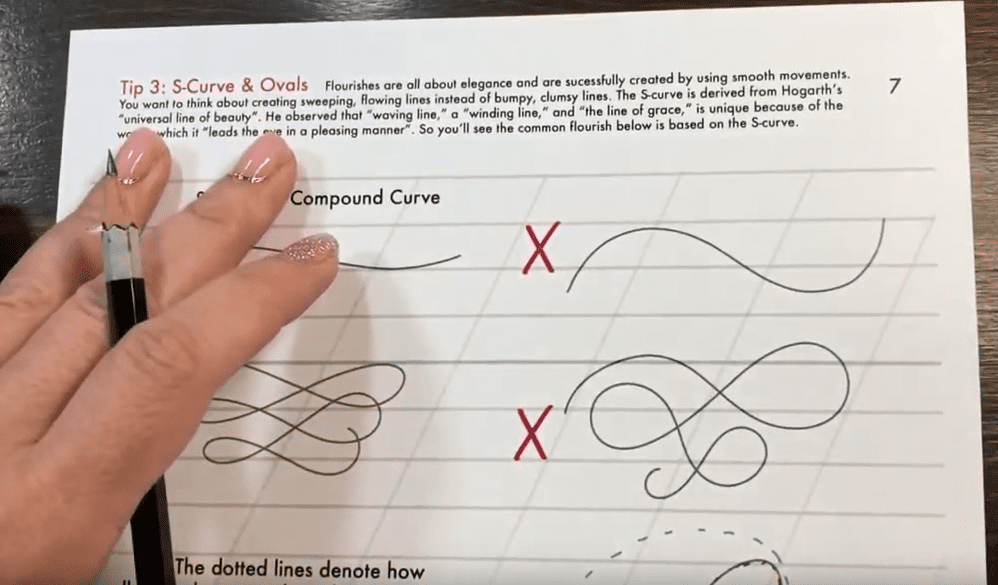
5 Tips to help you have flawless flourishes
When you have the foundational understanding…you’re bound to create gorgeous flourishes on your own without copying others work.
• Are a beginner who is already familiar with brush lettering/brush calligraphy and know the basics in regard to the thick down stroke/thin upstroke rule and how to draw your basic letters.
• Are at an intermediate or advanced level with your lettering skills, but want to add some interest and embellishments to lettering pieces to help stand out from the rest.
What supplies do I need?
• Pencil and tracing paper!
We will be using a pencil throughout most of the course. So no need to be a pro with a brush pen. Although you can certainly use one for the course if you feel comfortable enough.
I also suggest grabbing some tracing paper to use over top of your printed worksheets. (You will need to print your worksheets after you purchase)
FAQ’s
1. Is the course self-paced? Yes! Once you purchase, you’ll receive your 34 digital worksheets to download and print. You’ll have immediate access to the 12 video tutorials, and be ready to dive right in at your convenience.
2. What if I don’t have a lot of experience with lettering? No problem! This course is for you if you have a basic understanding what brush lettering or brush calligraphy is and can at least draw your letters. You should have a basic understanding of the technique: thick downstrokes and thin up strokes.
3. Do I need to know how to flourish? Nope! That’s what this course is for 🙂 We will walk through all of the rules, basics and techniques to flourishing so you’ll have a complete understanding once you’re done with the course!
4. What if I don’t have a printer to print my worksheets? You can get them printed fairly inexpensively at an office supply store like Staples, or even the library!
5. Will I be required to participate in the Facebook group? Nope! Everything you need to complete the course is available within the worksheets and the video tutorials. The Facebook group is simply an additional resource to help keep you accountable as you work through the course. If you don’t have time to join in on the facebook group right after you purchase the course, you will be able to come back to the Facebook group when you’re ready and check out all of the content and videos at your convenience.
6. Will there be examples of each letter of the alphabet? Yes! The course worksheets include the full lowercase AND uppercase letters with flourishes for you to trace and practice.
7. Will the instructor be available if I have questions as I’m taking the course? You bet! Anytime you have questions about ANYTHING while taking the course, feel free to reach out to me and ask away! I am here for you and your purchase includes this benefit 🙂 One of my favorite things to do is help you learn and walk you through each step of the way!
8. How long will I have access to the course? I want to get it, but I won’t have time to start for a few months. You have LIFETIME access! You can come to the website and view the videos whenever you are ready! You can even wait to print your worksheets if you’d like to as well.
9. Will we learn how to add flourishes to a word? I never know where to put the flourishes! Yes! We will go over a lot of details on where to add flourishes and how to make the word look balanced. We will learn how NOT to go overboard when adding flourishes. And we will even learn how to keep your words legible instead of having your flourishes interfere with your letters and which affects legibility.
10. What is your experience with lettering and flourishing? I just like to know who I’m learning from before I purchase. I totally get that! I’m the same way 🙂 My name is Tanya Levandoski 🙂 I am a graphic designer for over 15 years. I started hand lettering back in early 2017. I took a masterclass course in late 2017 and from there continuted to hone in on my skills by practicing lettering every day, sometimes numerous times a day, for almost 4 years now!
I have been teaching hand lettering for over 3 years and I love every minute of it! One of my biggest joys is to help someone else get that “ah-hah” moment when learning lettering, and then to watch them flourish (see what I did there ;0) in their lettering journey!
One of the things that makes me different from a lot of other instructors, is how I infuse my art and design experience into everything I do including my hand lettering. I am HUGE on aesthetics and composition. I’ve been immersed in the design and art world for all of my life and have done it as my career for almost 16 years. So it’s no surprise that I bring my design background into my hand lettering and ultimately into my teaching style!
Learn the 6 best places to add a flourish!
The course will take you through the best places to add a flourish from the beginning of the word to the end. No more guessing or wondering. Now you’ll have your very own cheat sheet to refer back to. Following the cheat sheet, we’ll go through every single one in depth (as referenced above)
What people are saying